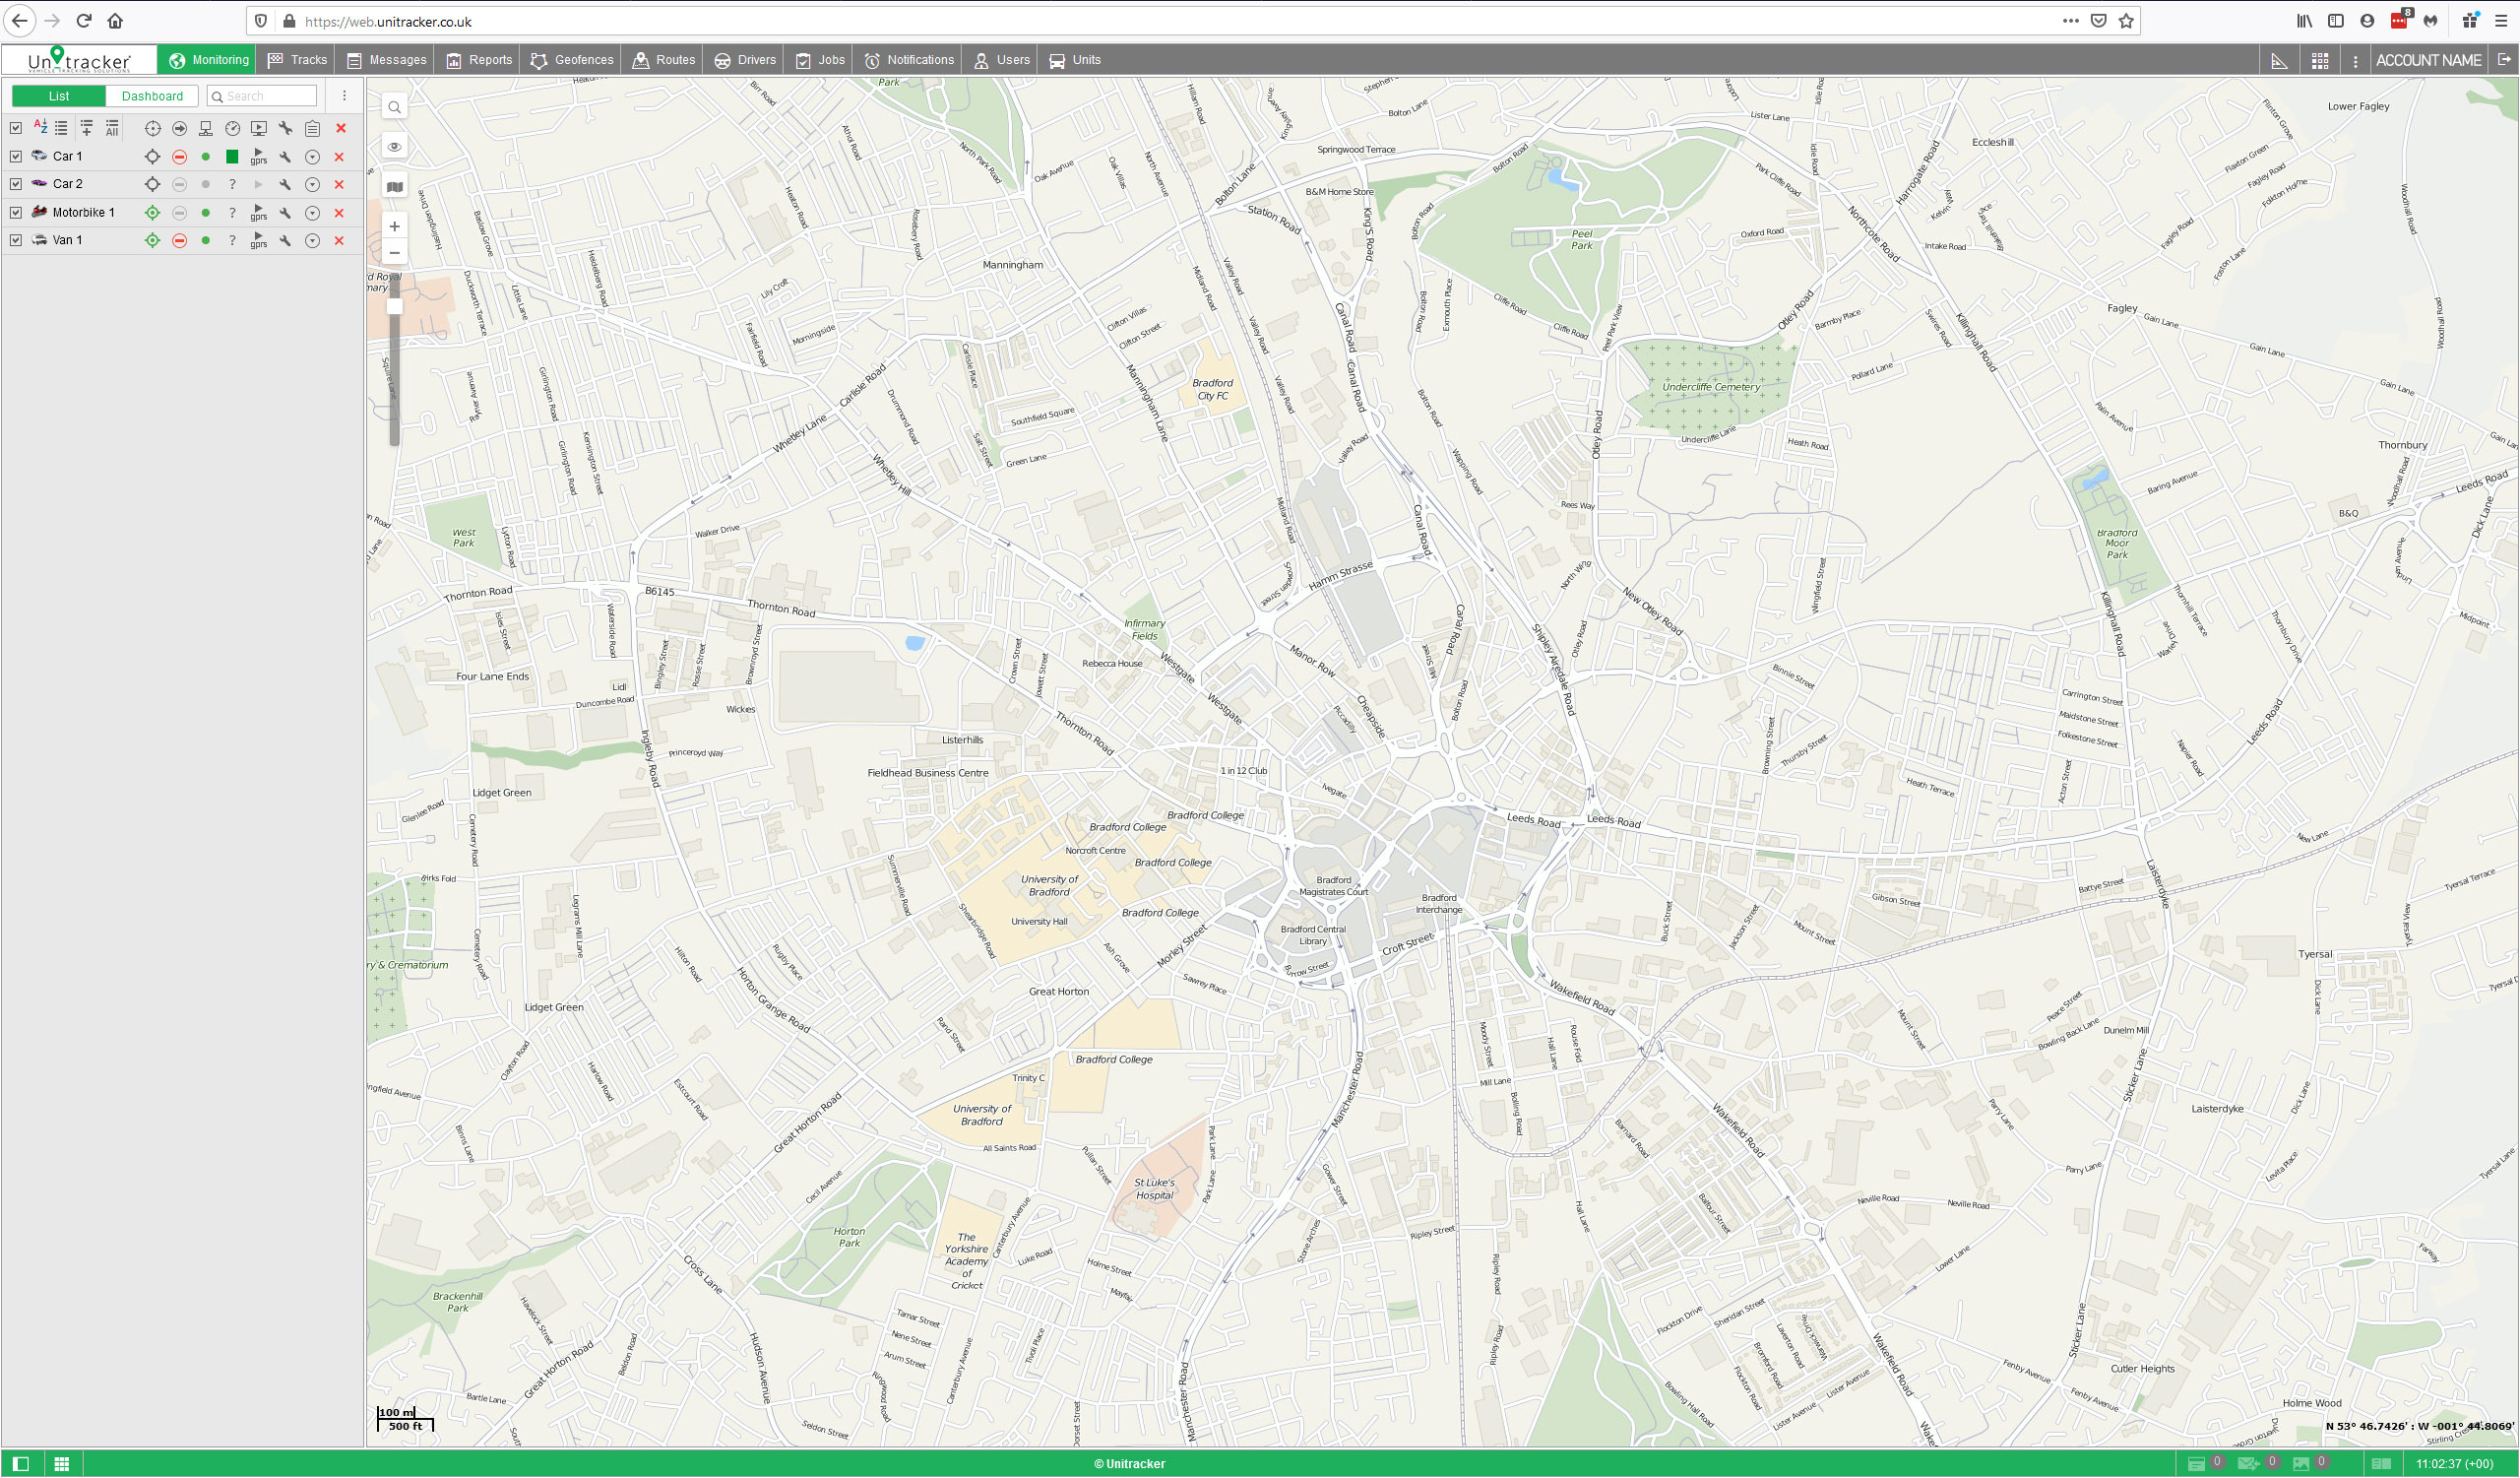
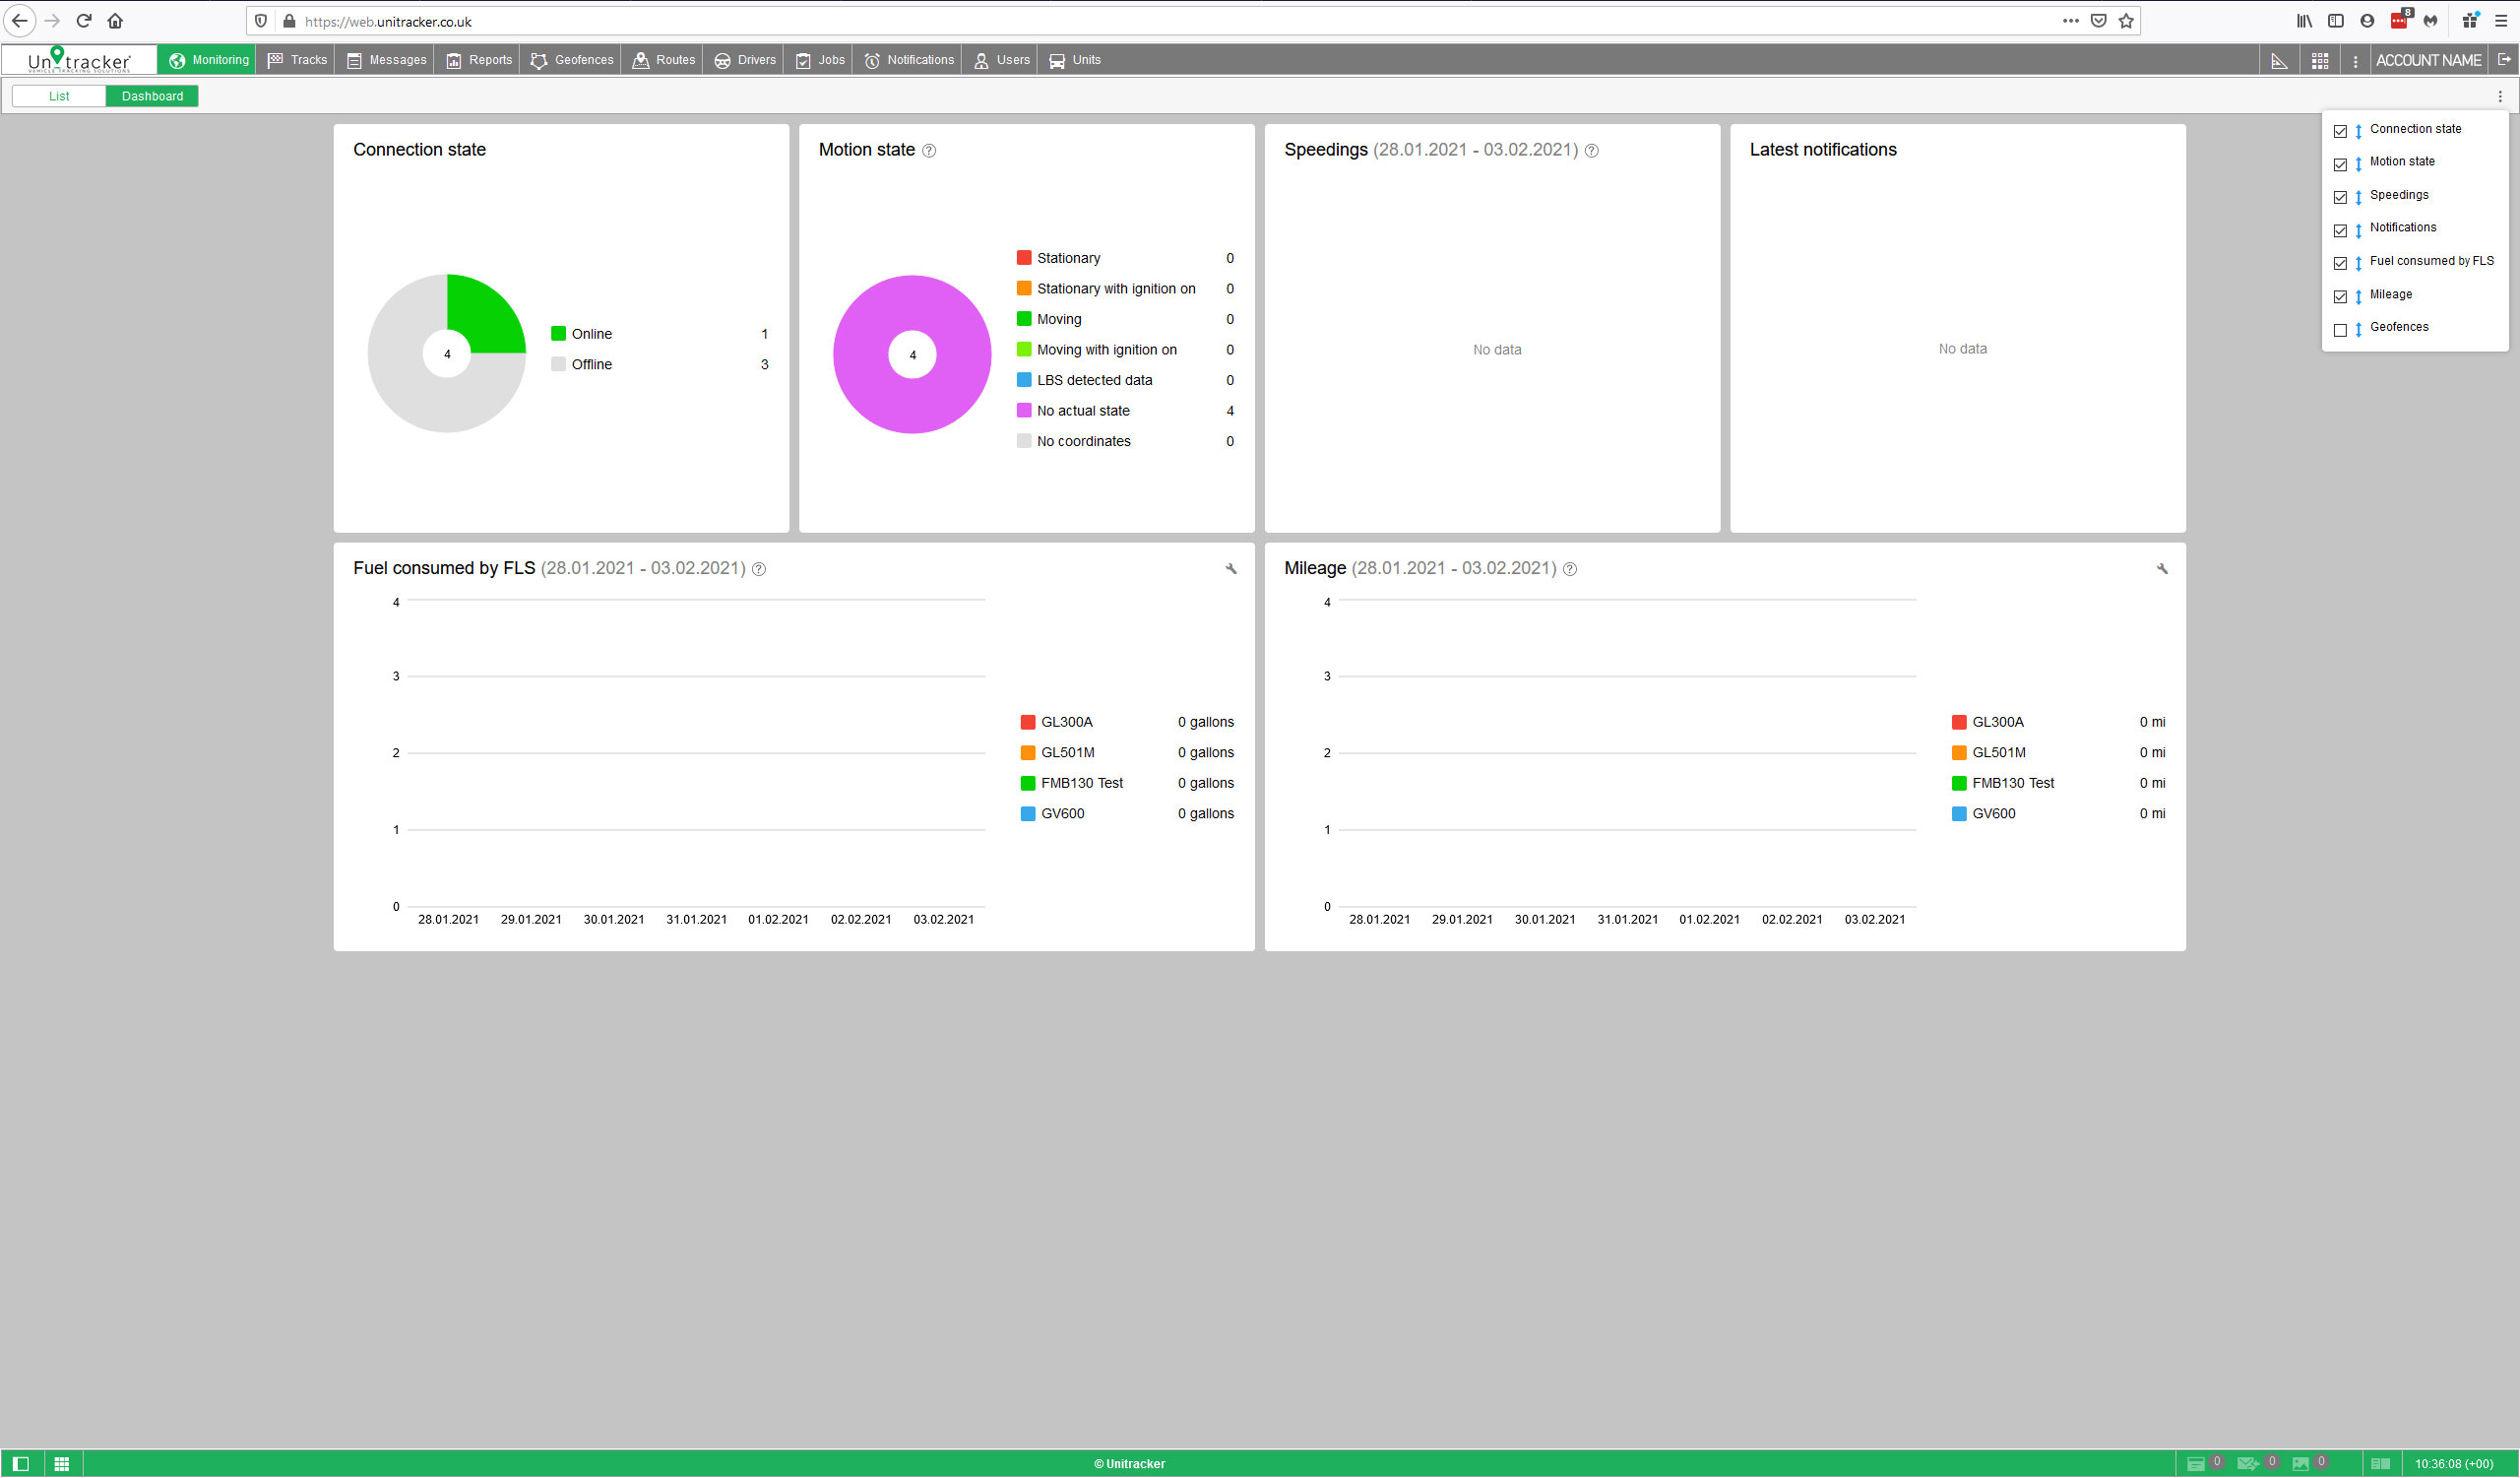
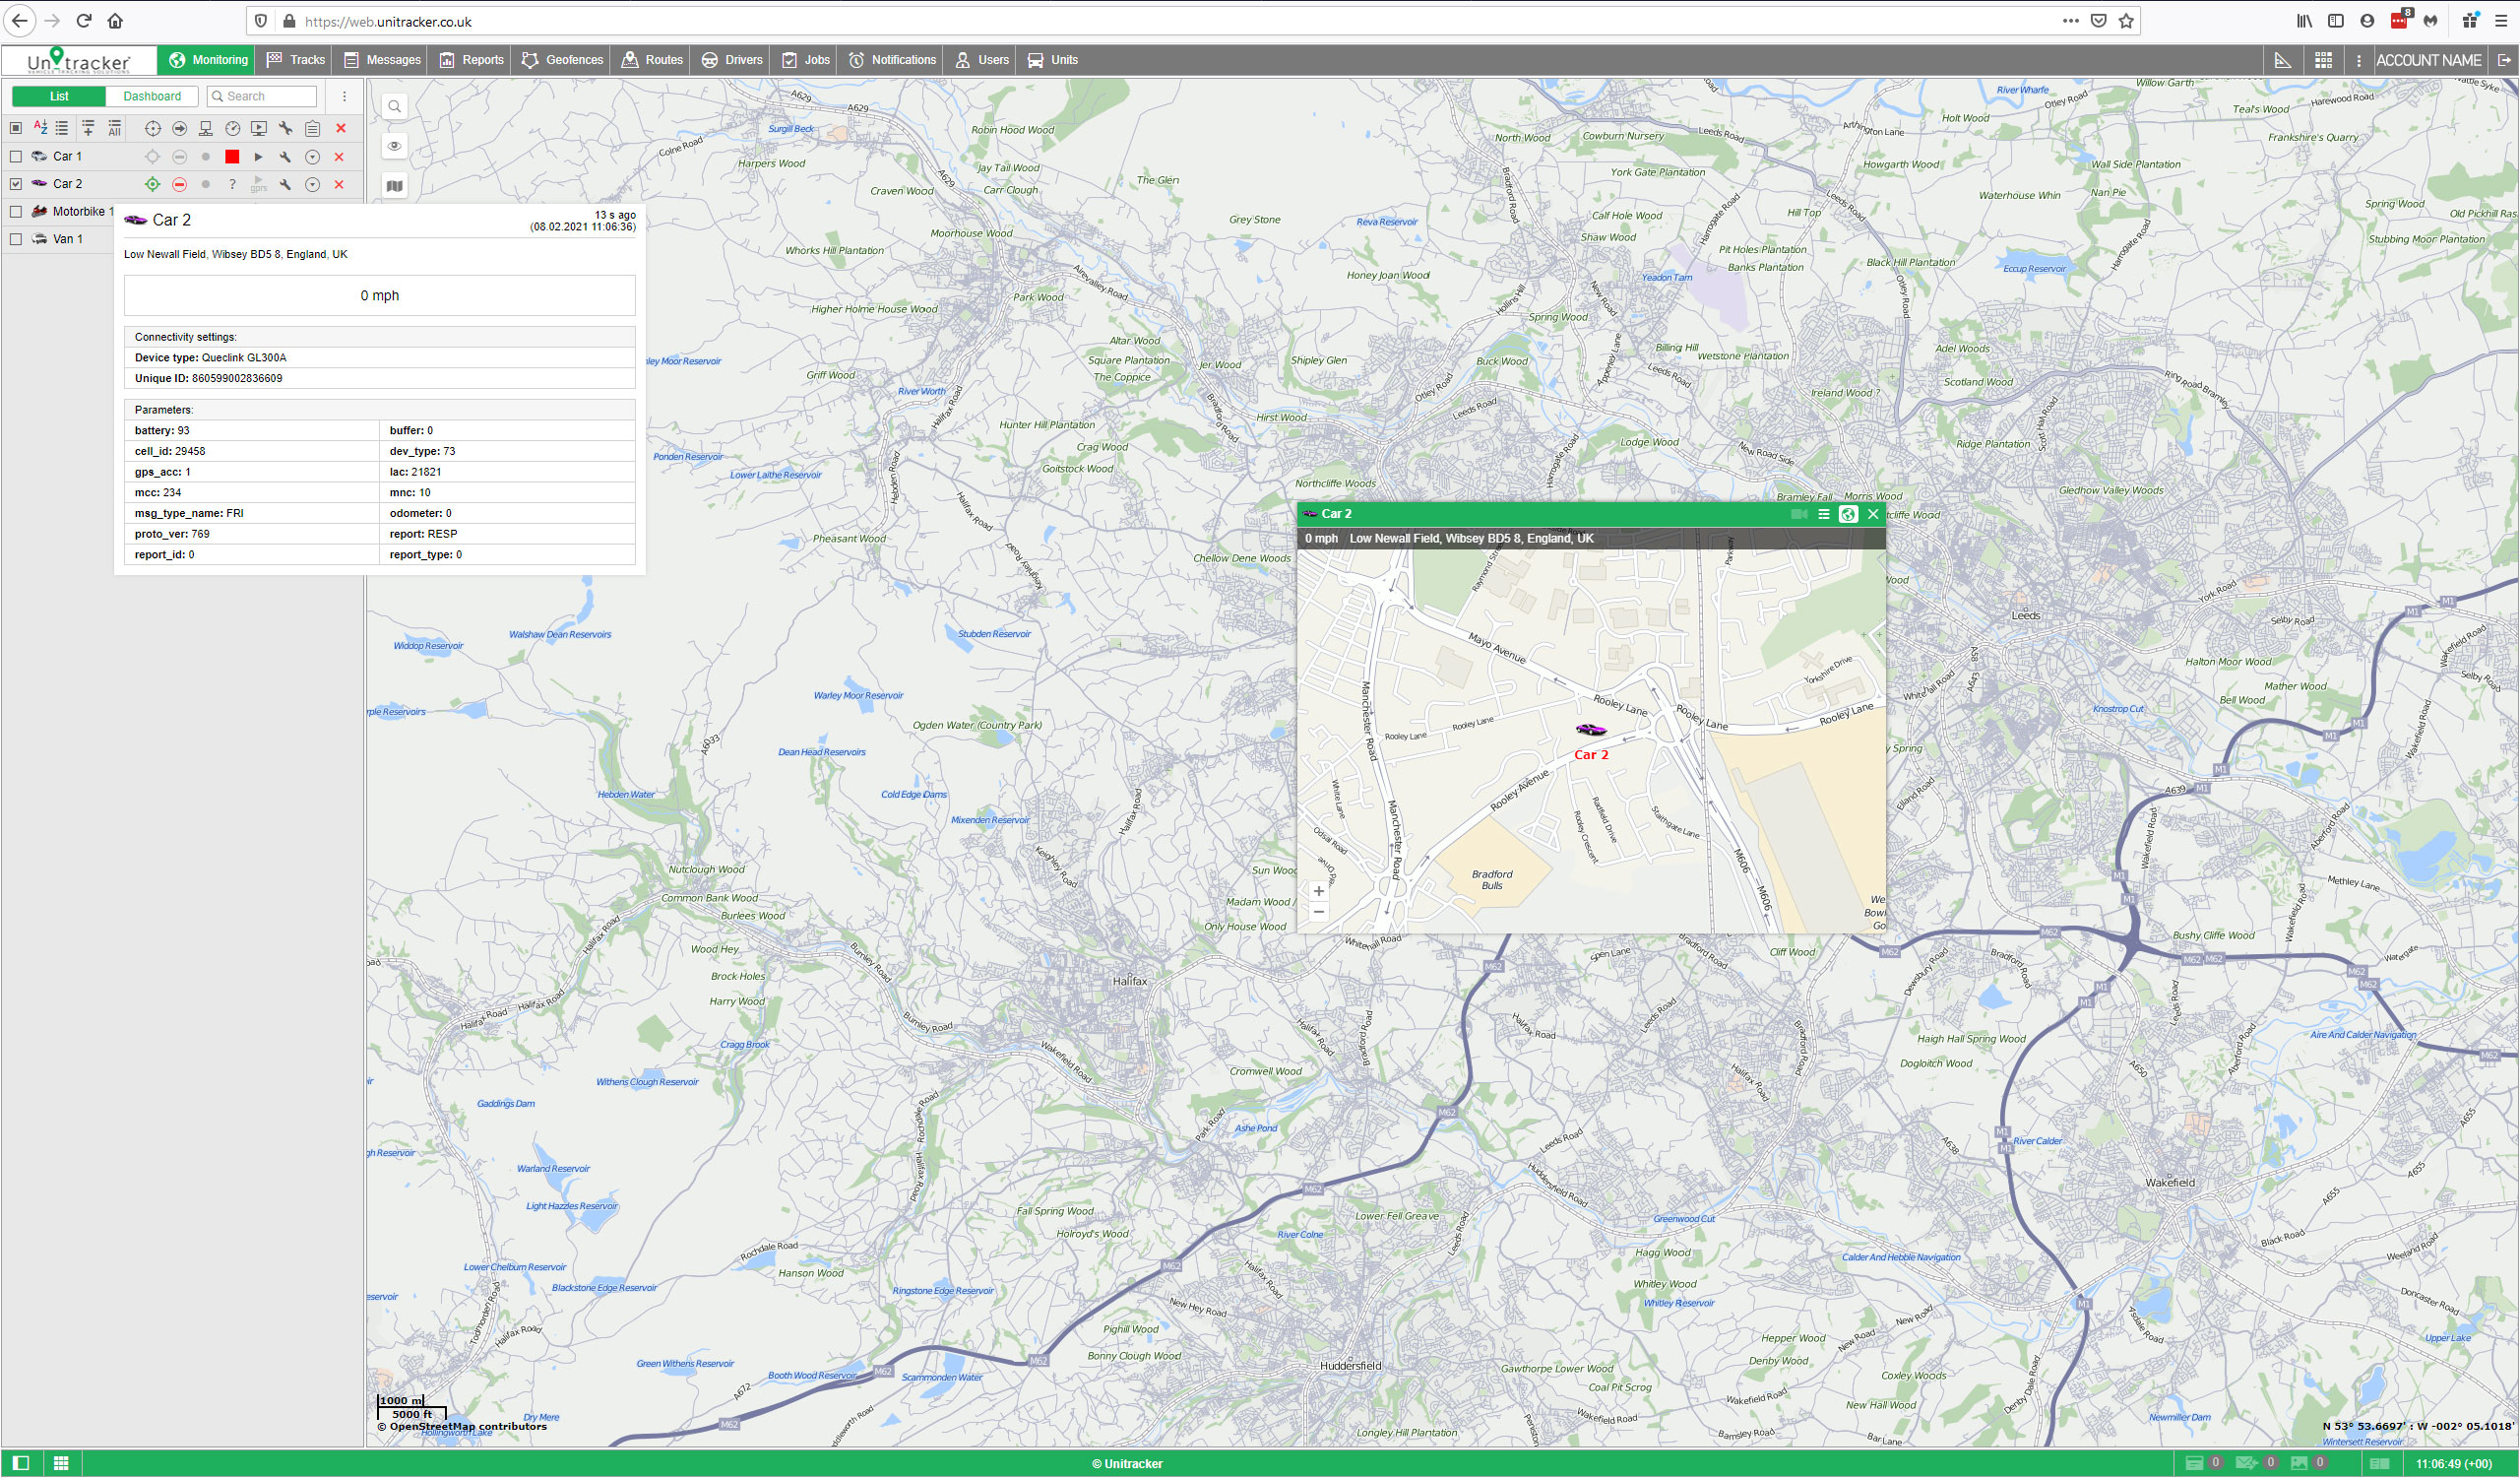
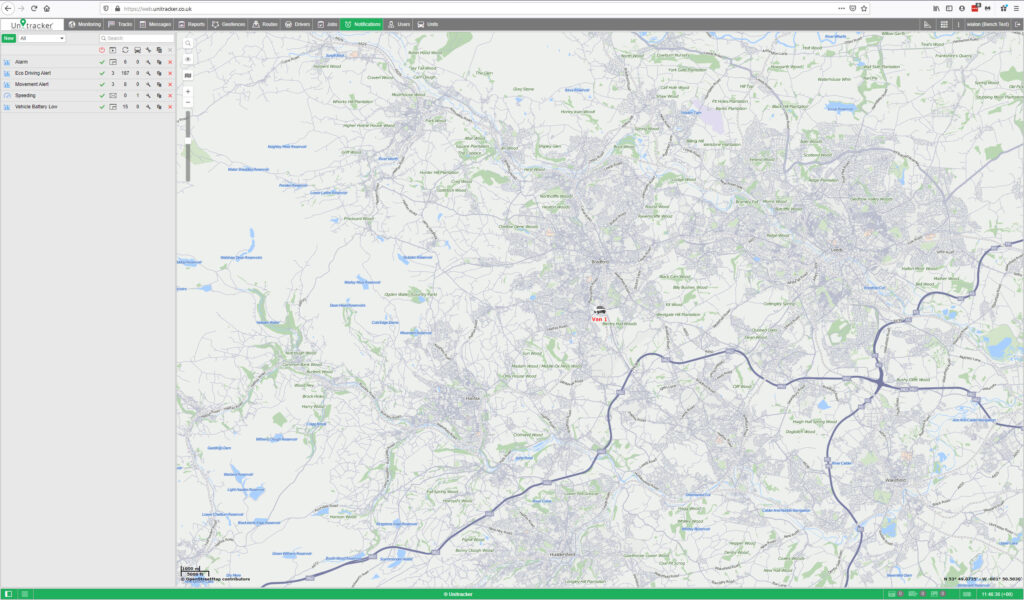
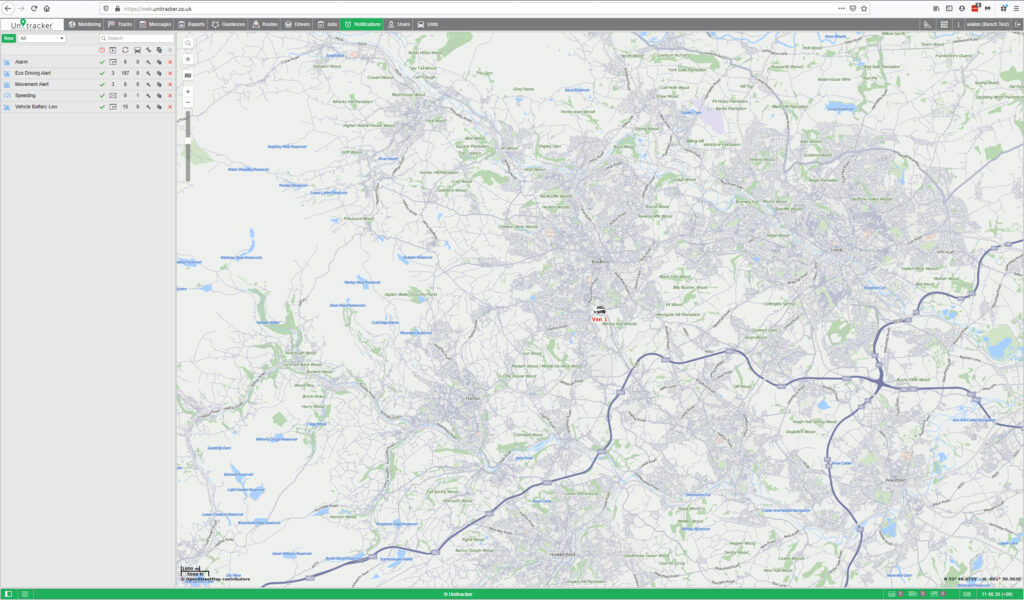
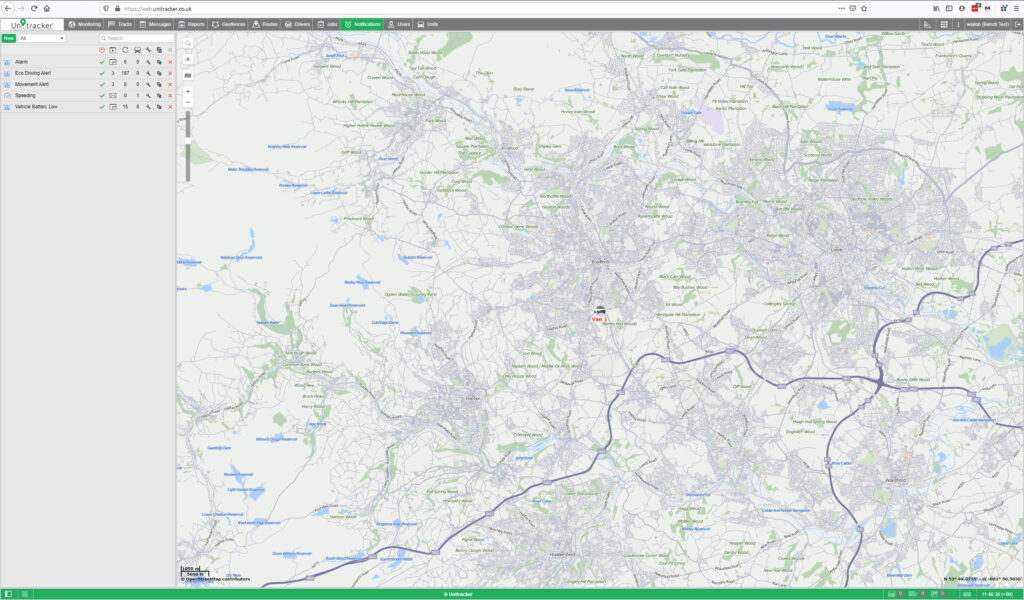
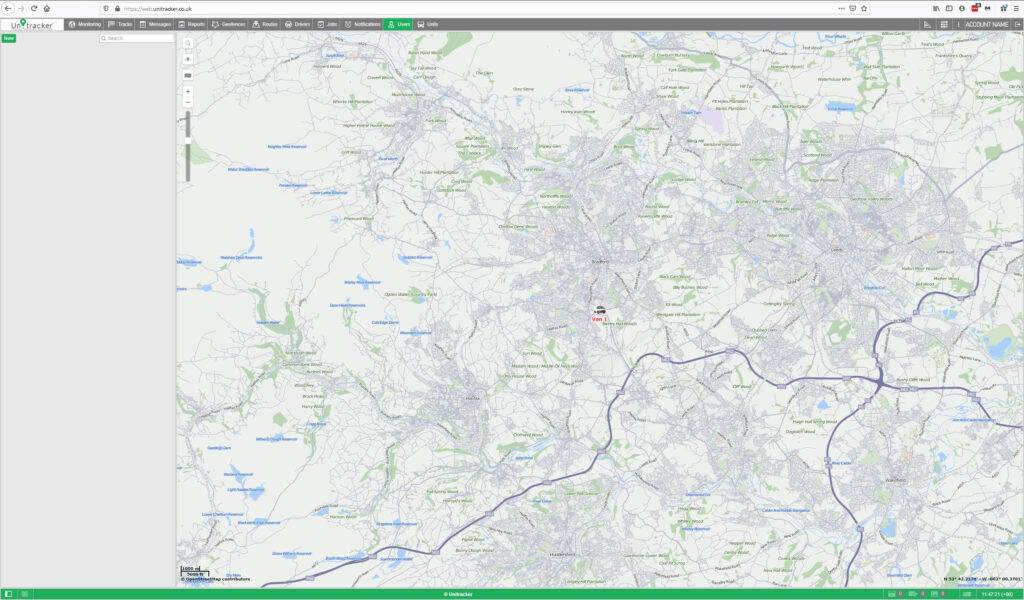
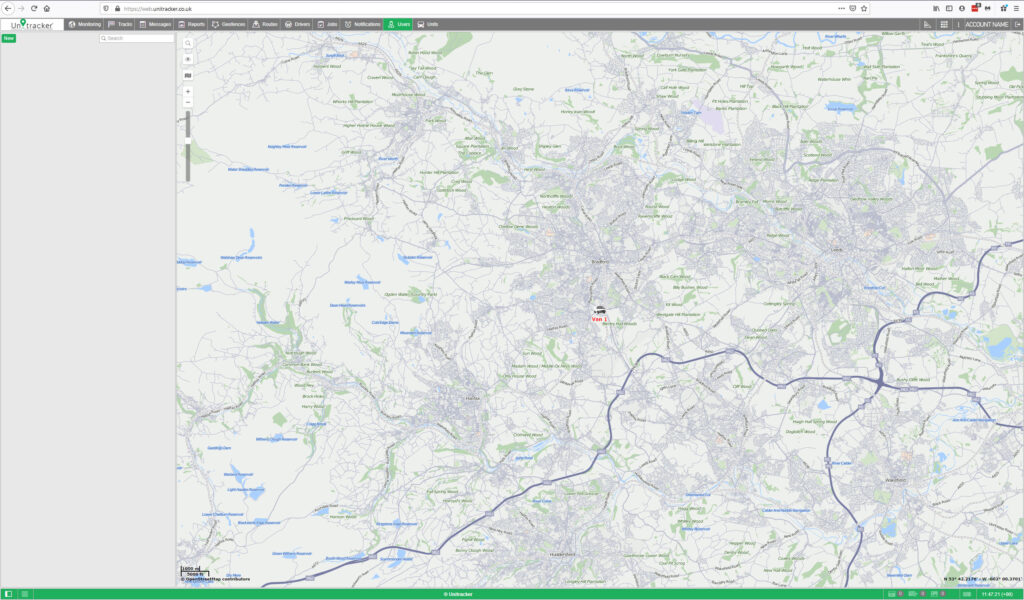
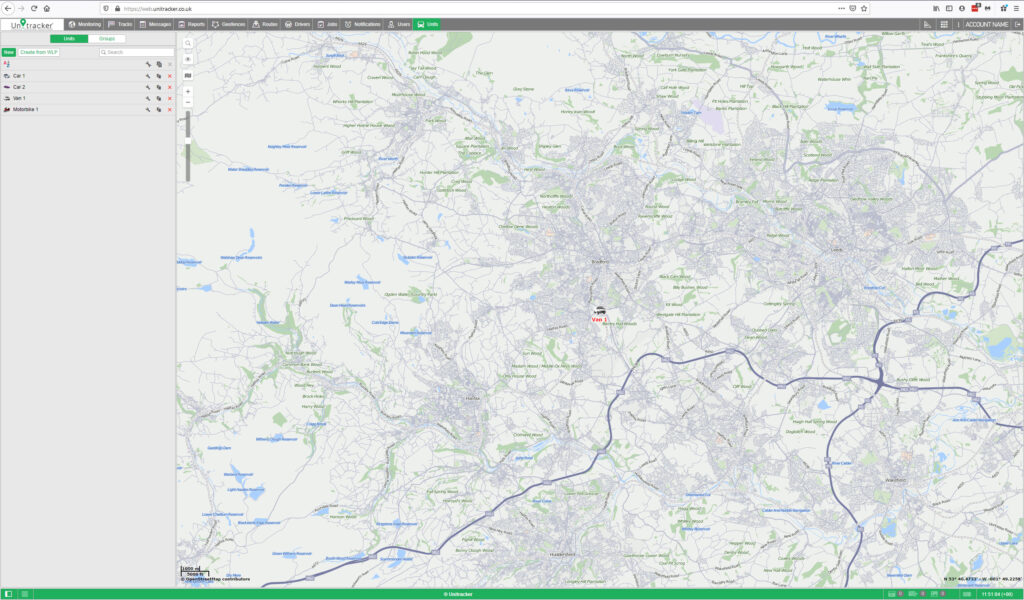
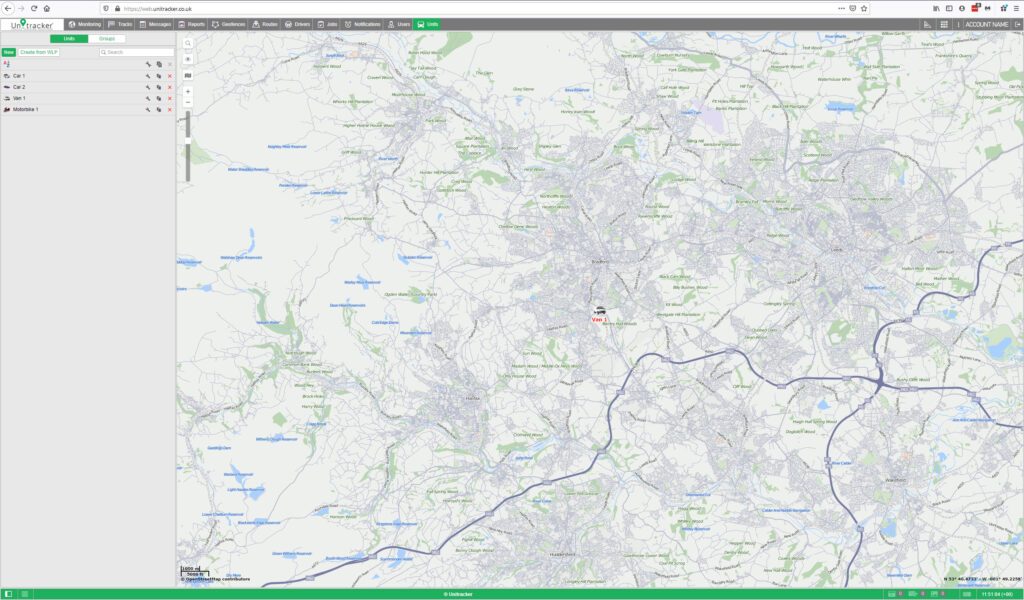
By default, your vehicles are displayed by an icon which is selected when the unit is configured, and a caption with its name. Icons for units can be selected from a standard set or you can use your own image by uploading it in the Icon tab in the Unit Properties box. In addition, the icon can rotate depending on the direction of the vehicle in real time. This feature is also defined in the Unit Properties.
Alternatives for Icons
Unit icons can be replaced with the motion state signs. This option is called ‘Replace unit icons with motion state signs’ and is set in the user settings. The following symbols are possible:
- Green arrow – The unit is moving, the direction of the arrow indicates the direction of movement.
- Red square – The unit is not moving.
- Yellow circle – The unit is standing with the engine on (only for units with ignition sensors).
The colour of the icon depicts the chosen sensor value. This can be adjusted in the Advanced tab of the Unit Properties.
Unit names can be displayed or hidden on the map using the Unit name item in the layers menu.
Displaying Inactive Units
Monitoring units are conventionally divided into active and inactive ones. Inactive units are units that have not received messages for more than 48 hours all others are considered active.
Other Markings
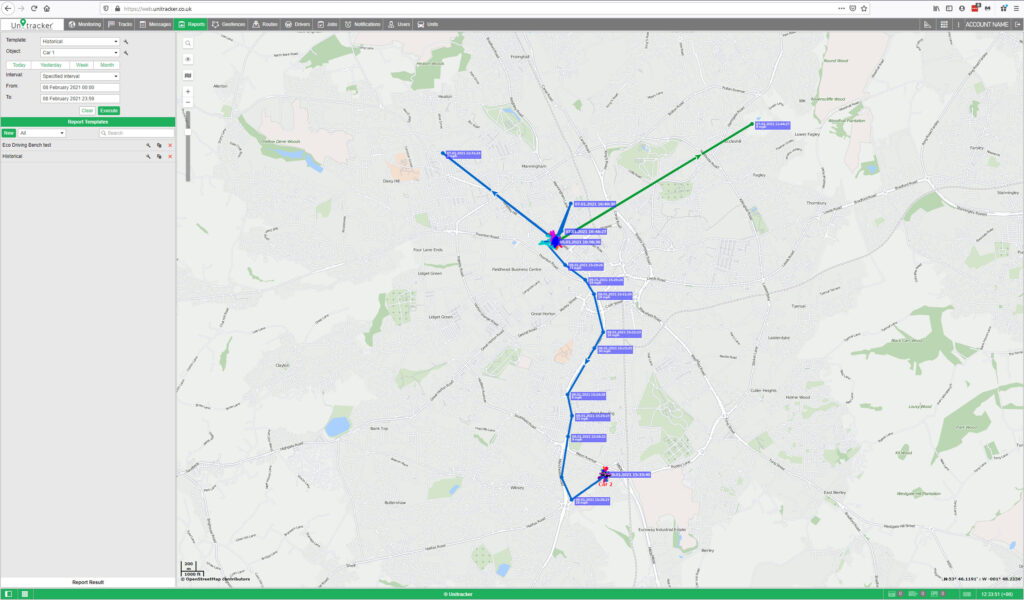
If the unit is currently in motion, the green arrow shows the direction of its movement, and the unit can be followed by a trace which shows the track for the last few messages.
In the layers menu, you can configure the display witht he following choices:
- Unit trace – Show/Hide the trace of the unit;
- Unit name – Show/Hide the names of the units;
- Driver’s name – Show/Hide the drivers assigned to the units (if there are any);
- Unit direction – Show/Hide unit’s direction of movement.
If the display of names is enabled both for units and drivers, the drivers’ names are shown in parenthesis. The colours of the captions are taken from the unit properties.
The icon to the left of the caption signals that the ‘Do not show unit location’ option is activated for the unit and the private mode of the trip is detected.
Online Notifications in Minimaps
In minimaps you can view any notifications. When one triggers, the unit minimap is highlighted in red. If the minimap has been hidden, it is shown automatically. Select the Blink minimap option as a notification action to receive and view online notifications in minimaps. In the minimap header, you can see an icon indicating the number of unread notifications. Click on it to view them. Here you can read and delete notifications. To return to the initial mode, click on the icon again.
Working with Minimaps
In the header of the minimap, there is a unit icon and name so that you can easily find the required vehicle. The mode switches and the Close button are also in the header. You can open up to nine minimaps at the same time (one minimap per unit). You can hide or display all minimaps at once by clicking on the button in the left corner of the bottom panel. When you go to the Reports, Messages, and Routes tabs, the minimaps are automatically hidden to avoid excessive information. If needed, you can display them by clicking on the button in the bottom panel. When you leave these tabs, the minimaps are shown again automatically.
After logging in to the system, the last layout of minimaps is restored
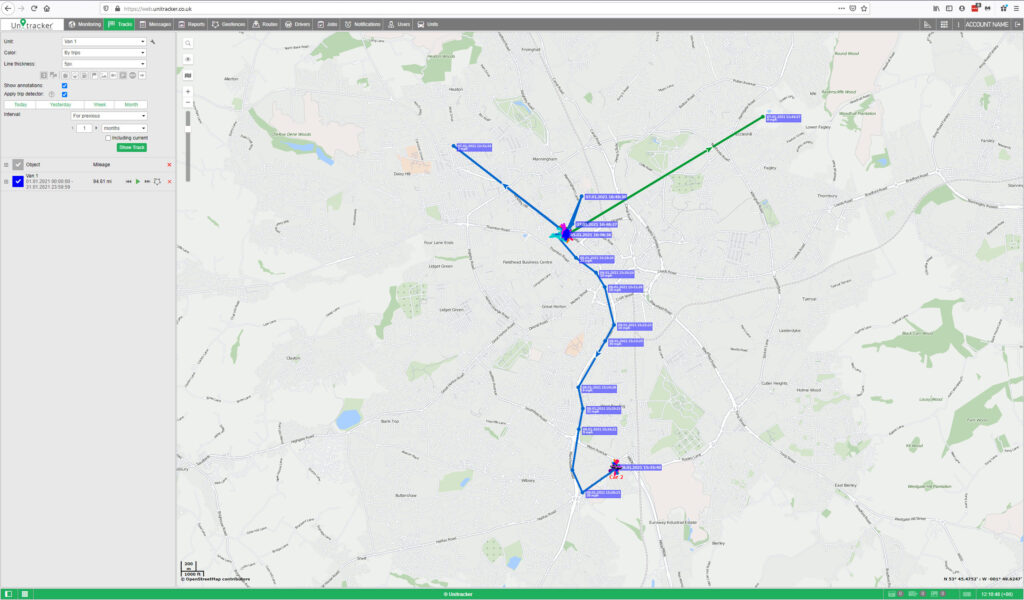
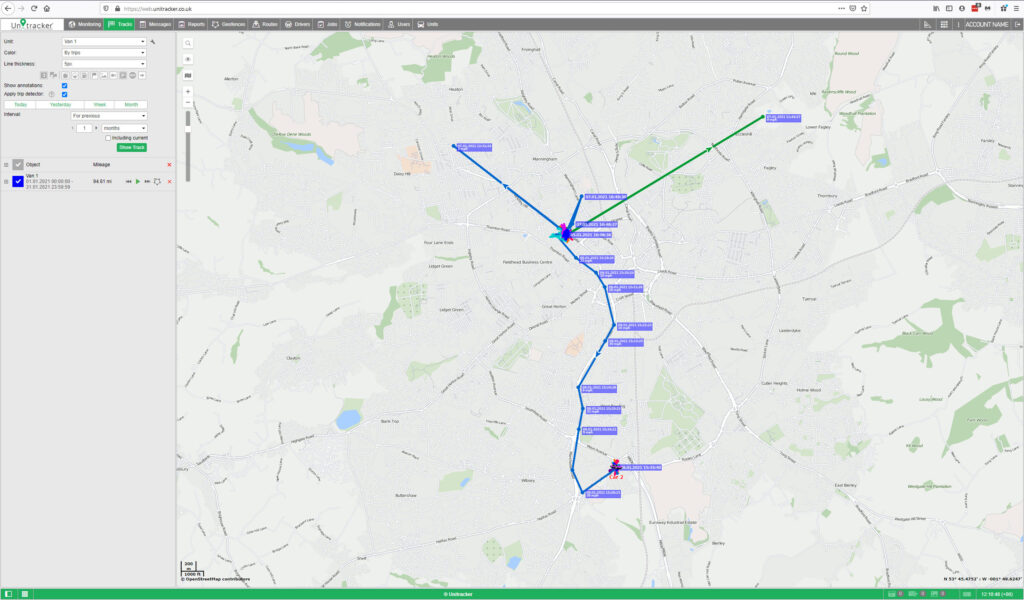
To build a track on the Tracks tab, do the following:
- Select a unit in the dropdown list.
- Adjust the desired parameters for the track (colour, thickness, etc.).
- Define the time interval within which you want to get the data.
- After filling in all the fields, press Show Track.
The principle of interval adjustment is the same as in the reports (see Query and View Reports). The third and fourth steps can be combined into one if you use one of the options from the buttons Today, Yesterday, Week, or Month.
A point-to-point track that is built according to the preset parameters will appear on the map (if the unit has any messages with the coordinates for the period). If it takes too long for the track to appear on the map, it means you either indicated an interval that is too long or your Internet speed is too low.
If within the indicated period the unit was not moving, there will be no track on the map. However, it can be found in the list of tracks below, and the distance traveled will be listed as 0.
A track or its part can be displayed on the map as a dashed line. Such a situation indicates that the data in this part of the track might be inaccurate e.g., the maximum interval between the messages is exceeded (see the Advanced tab) or the number of satellites is less than 4.
When the private mode of the trip is detected (if the unit has the Private mode type sensor with the Do not show unit location option enabled), the work trips are connected with the straight dashed line.
Alternative methods to build a track on the map are:
- On the Monitoring tab with the help of quick track buttons.
- On the Messages tab when you view data messages.
- On the Reports tab, if the appropriate option is selected in the report template.
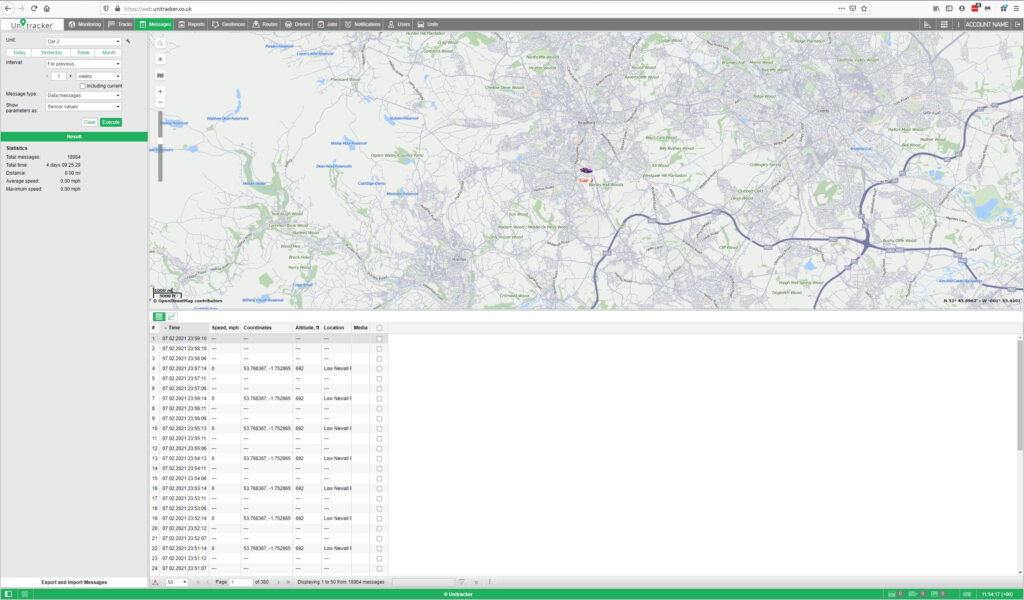
- Top left corner you can set the parameters of your request.
- Bottom left there is the statistics for current request or a panel to export/import messages.
- In the top right section there is the map.
- At the bottom right section there are the messages themselves.
If you request messages with data, the table of messages will contain information about the time, speed, coordinates, location, and available parameters. In addition, in the Statistics section you can find summary information. There you will see the number of messages found upon request, the time from the first to the last message, the distance traveled, the average and the maximum speed.
There are two ways to display the parameters:
Raw Data – All the parameters are displayed in one line in the corresponding column.
Sensor Values – Each sensor has its individual column in the table, the values are given according to the calculation table. The information on each colour and the message that corresponds to it is located in the Legend section.
Statistics
Statistics section provides the general information about the request:
- Total messages – The number of messages for the whole period.
- Total time – The interval between the first and the last message of the selected period.
- Distance – The distance traveled by the unit within the indicated time interval.
- Average speed – The average of all speed values registered during the period.
- Maximum speed – The maximum speed registered.
Using the Map
The track for the selected period is displayed on the map. It is generated together with the table. Select the message and click on it. The message will be highlighted in gray, the map will be centered on this point and a blue marker will be set there. By default, the track is blue, but you can adjust the settings to colour the track in accordance with the speed or sensor value. This can be set in the unit properties dialog on the Advanced tab.
When you hover the mouse cursor over the track, the nearest message is searched. If such a message is found within a radius of 50 pixels, the point of receiving the message is highlighted by a pulsating circle, and detailed information is displayed in the pop-up window: the time the message was received, the speed of the unit’s movement at that point, altitude, coordinates, number of satellites, readings of sensors.
Charts
Besides the table view, some data can be presented in the graphical form. Go to the graphical mode to view the graphs of the parameters contained in the messages. The Chart Legend section opens in the work area to the left. Here, select the parameters you want to be displayed. You can check several parameters simultaneously — in such a case the graph contains more than one curve. For convenience, these curves are highlighted in different colours.
There is a special button in the monitoring panel to send commands to units.
The table includes:
Time
The time when the command was sent to the unit.
User
The login name of the user who performed the command.
Command name
The command name as it is written in the unit properties.
Command type
The command type.
Parameters
For the commands that require additional parameters.
Execution time
The time when the command was executed. If the execution failed due to billing limitations.
Channel
The type of connection used to transmit the command.
- In the upper left corner, the report parameters are adjusted;
- In the lower left corner there are report templates.
- In the upper right section, there is the map;
- In the lower right section, you see the report itself.
Template
Select the required report template from the drop-down list. By default, the one that was created and edited last within the current session is selected. To the right of the list is the icon for editing the properties of the selected template.
Object
Select the system object that you want to execute the report on (the current user should have the Query messages or reports access right). Depending on the report type specified in the template, you can select a unit, unit group, user, driver, trailer, route, resource, retranslator, group of drivers or trailers, passenger or group of passengers. For the Unit group report type, you can specify more than one object. Click on the Add object button and in the drop-down list, select the required unit or unit group (shown in brackets). If specific objects are bound to the template, only they will be available in the drop-down list. To view/edit the properties of the selected system object, click on the icon to the right of it.
Interval
The report execution interval can be specified in two ways: manually or with the help of one of the available pre-set intervals. Use buttons Today, Yesterday, Week, Month to select a pre-set interval. If you press one of those four quick buttons, the report launches immediately (there is no need to press Execute). To select the interval manually, there are several options (the drop-down list to the right of the Interval field):
Specified interval – For such an interval you can specify the date and time of the beginning and end (to minutes).
Starts ‘From’ until today – Specify the exact start time. The current time will be automatically set as the end of the interval.
For previous – The number and the time interval (minutes/hours/days/weeks/months/years) for such an interval are indicated below. To select a numerical value for the interval, use the arrow keys or the mouse wheel. Valid values are from 1 to 99. Press and hold the arrows to rewind at an increased speed. When the Include current option is activated, the report is executed not for the last full period, but for the current one.
There are alternative ways to receive reports in the monitoring system:
- Receive reports by email at the specified time.
- Receive a report when an event happens.
- Quick report generation from the monitoring panel.
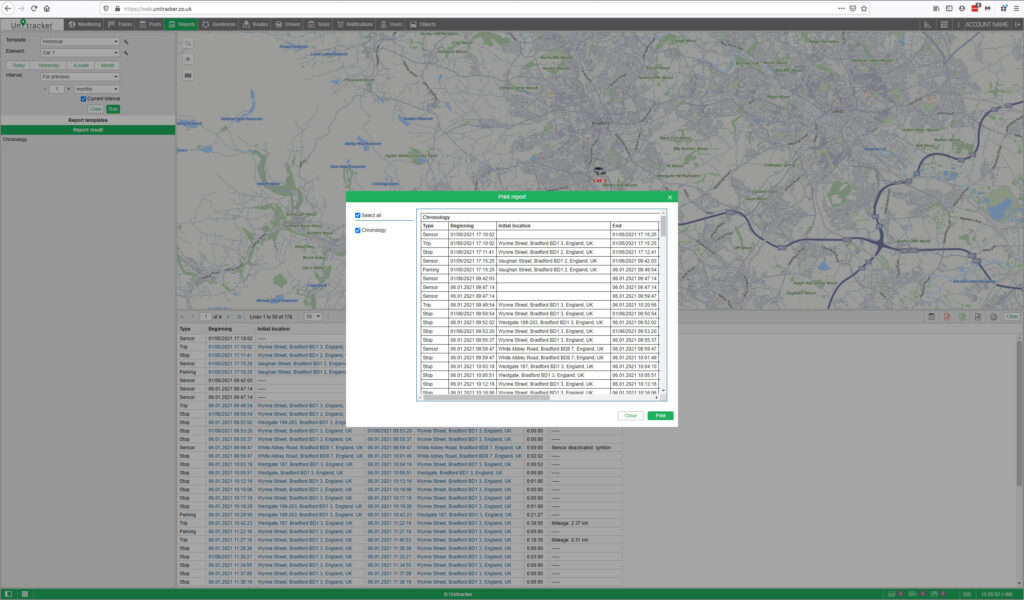
In the left part of the Print Report dialog, you see the list of sections which are included in the report. Check those that you are going to print. On the right, you can preview these tables, charts, map, etc. To start printing, press Print. To exit, click Close.
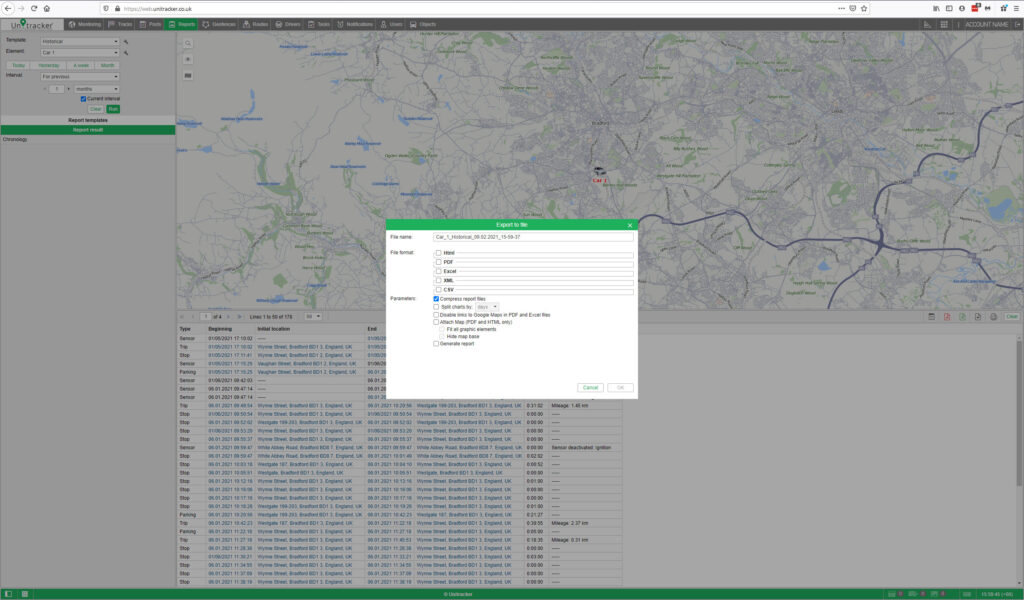
Specify the desirable file format or several formats at once. Supported formats are HTML, PDF, Еxcel, XML, CSV. For some formats, you may need to specify additional export options.
Reports in the form of files can also be received by email automatically – using jobs and notifications.
In the left part of the Print Report dialog, you see the list of sections which are included in the report. Check those that you are going to print. On the right, you can preview these tables, charts, map, etc. To start printing, press Print. To exit, click Close.
Map Geofence
Start working with geofences by choosing the corresponding mode.
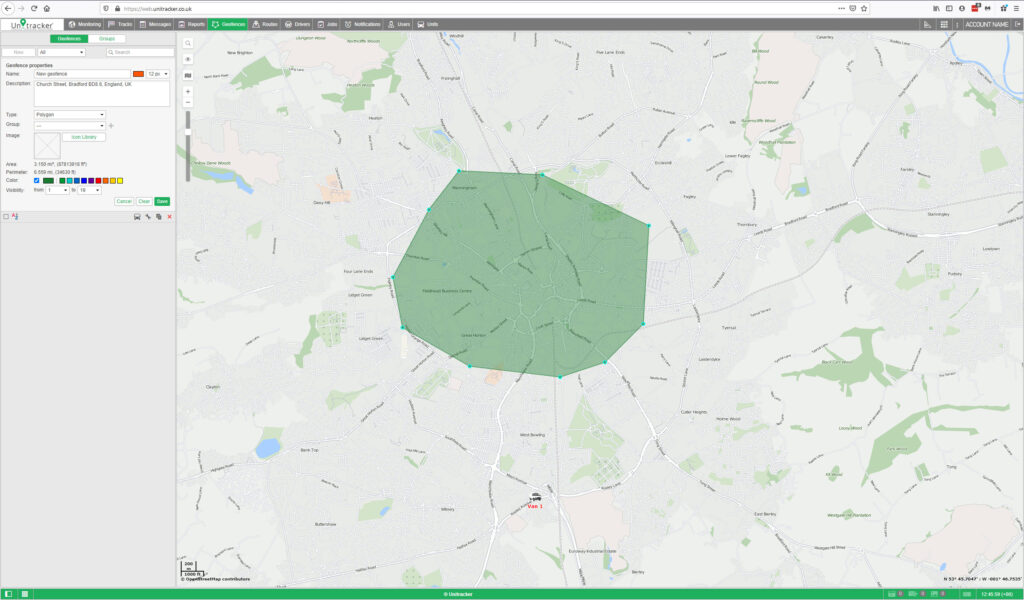
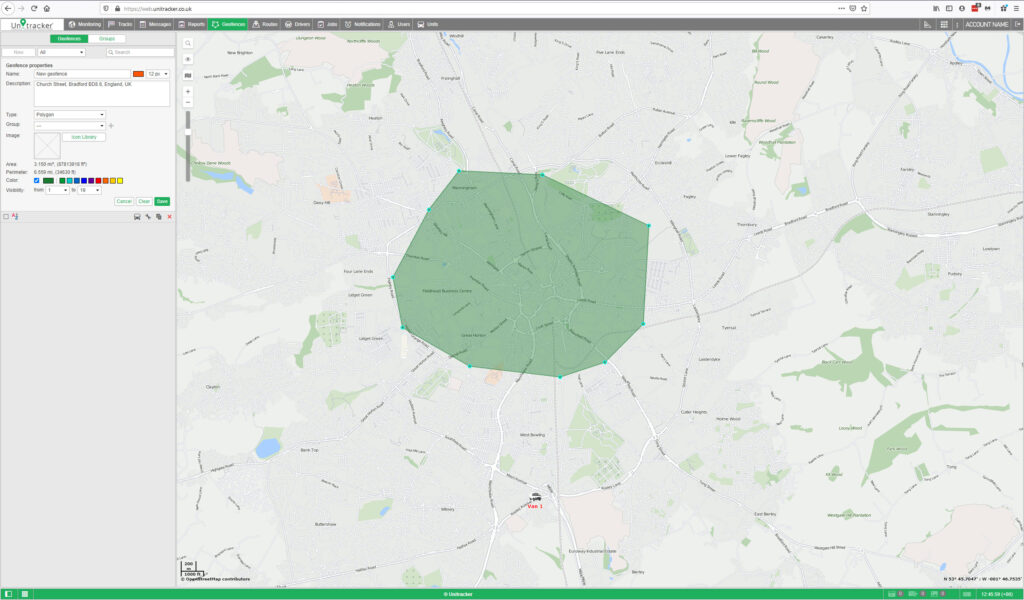
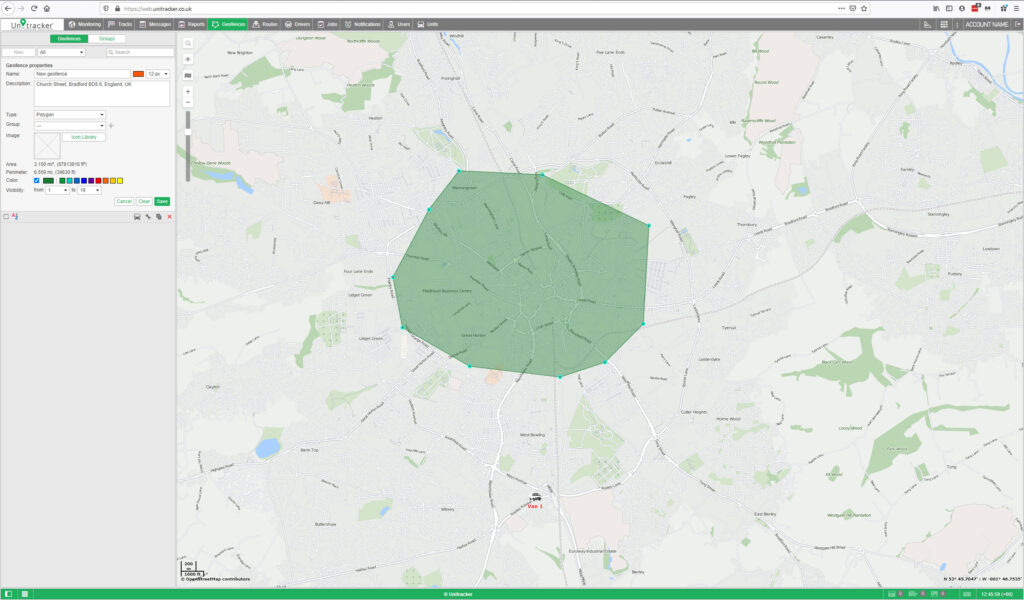
Click on the New button. In the help window, you can see the instructions on how to create a geofence. Choose a geofence type on the left: line, polygon or circle. Then map a geofence.
Double-click on any place of the map to put the first point. Then add more points using the same method. Put the points as close or as far from each other as you want. To insert a point between two other points, double-click on a segment between them. To move a point to another place, click on it and holding the left mouse button drag to another place on the map. Then release the mouse button. To delete a point, just double-click on it.
Set Geofence Properties
Name – This is used while tracking units as well as in reports and notifications. It is a required parameter. It can consist of one or more symbols. Besides, you can specify caption colour and size. It has sense if in User Settings the option ‘Display names of geofences on map’ is enabled.
Description – This field is optional. The description is displayed in the geofence tooltip. It can also be added to the geofence name if the geofence is used as the address source in reports. When you create a geofence, the description is filled in automatically with the address information taken from the first point you map. However, you can edit or simply delete it.
Type – Geofence can be of the shape of the line, polygon, or circle. For line, you also can indicate its thickness, for circle — radius (in meters or feet, depending on resource settings).
Group – While creating a geofence you can include it in one or several existing geofence groups. To do this, choose the necessary geofence in the dropdown list.
Image – You can attach any image to a geofence. An image can be chosen from the standard icons (the Icon Library button) or loaded from your computer by pressing the corresponding area and choosing the file you need.
Area & Perimeter – These fields are not editable, they are calculated automatically.
Colour – This colour will be used to render a geofence on the map and to display it in a unit’s tooltip and in extended unit information as well as some other places where next to the geofence’s name where a unit is located, is shown a square of the same colour.
Visibility – Here you specify map zooms at which geofences will be displayed or not.
Save Geofence
When finished, press Save. If you would like to delete the geofence you have just made and start afresh then press Clear and start again.
Geofences can be displayed on the map (the ones that have flags in the panel Geofences are shown). Different regions can be selected by different colors and you can estimate the units’ presence in definite areas. If a geofence is displayed on the map, you can press Ctrl and put the mouse cursor over it to see its tooltip (name, type, list of units inside, etc.).
In a unit’s tooltip and in its additional information you can see its presence in geofences if the option Presence in geofences is enabled in User Settings.
In Notifications
You can be notified by email, SMS, online or by other means when your unit leaves or enters a geofence. It is also possible to set speed limitations and sensor range for a unit during its presence in a geofence. Besides, entering a geofence or leaving it can be automatically accompanied by an action: send a message to the driver, block the engine, change users’ access to this unit, and many others.
In Reports
Geofences can be used in reports as addresses (in the Location column), if the Use geofences for addresses flag is enabled in the Advanced settings block of the reports’ template.
Many tables are generated on the basis of geofences. Among them there are the following:
Geofences – Visits to geofences (all entries and exits to/from the selected geofence(s) are given together with visit duration, distance travelled within the geofence, average and maximum speed, etc.).
Non-visited Geofences – Geofences which were ignored (non-visited) during a period of time or on certain days.
Rides and Unfinished Rides – Rides from one geofence to another.
Geofences can be also used to filter intervals in reports.
When a report is generated, geofences can be rendered on the map.
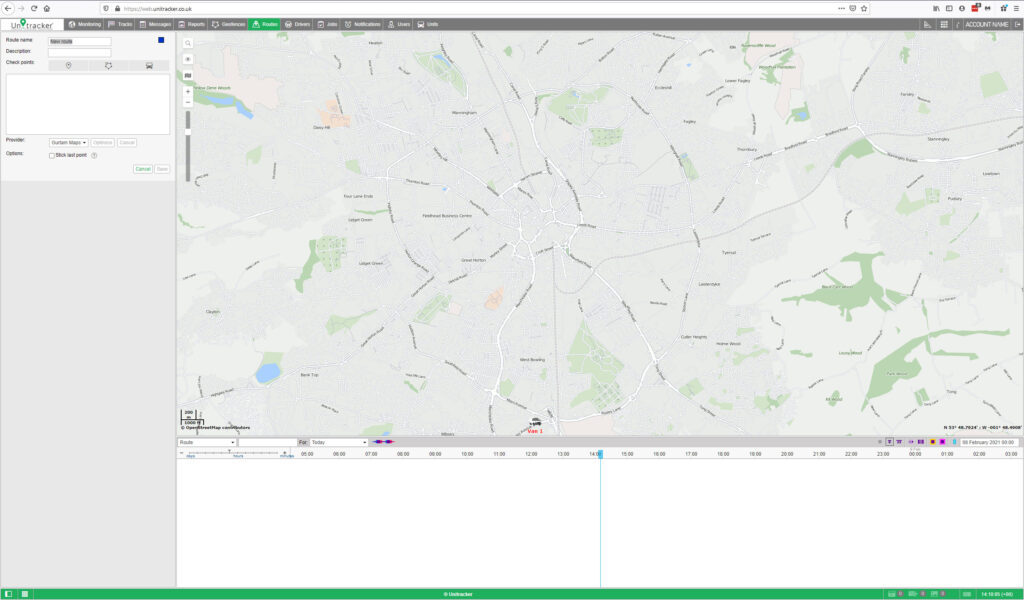
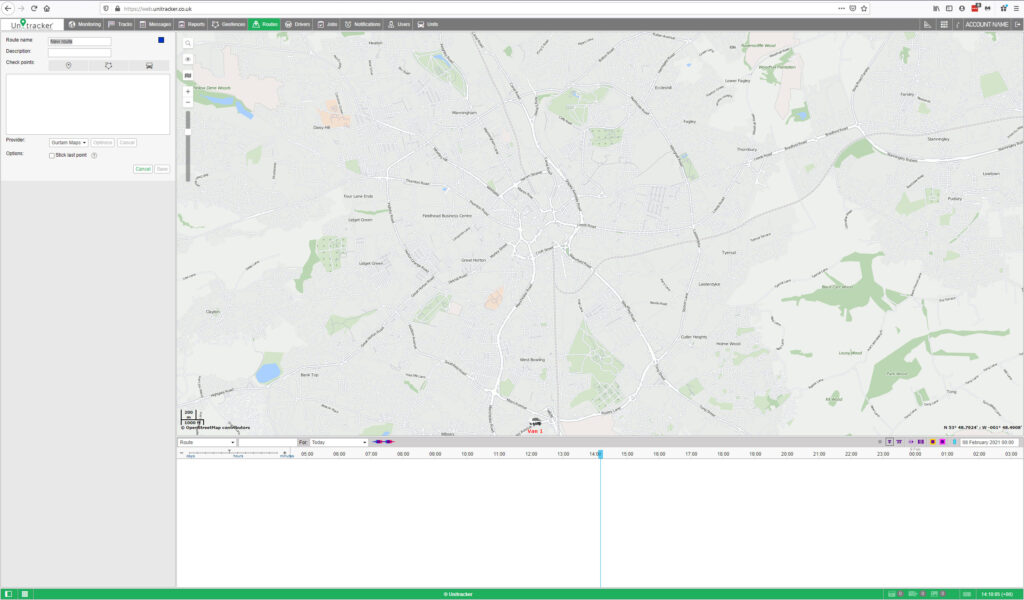
In Routes
Geofences can be used as check points while configuring routes.
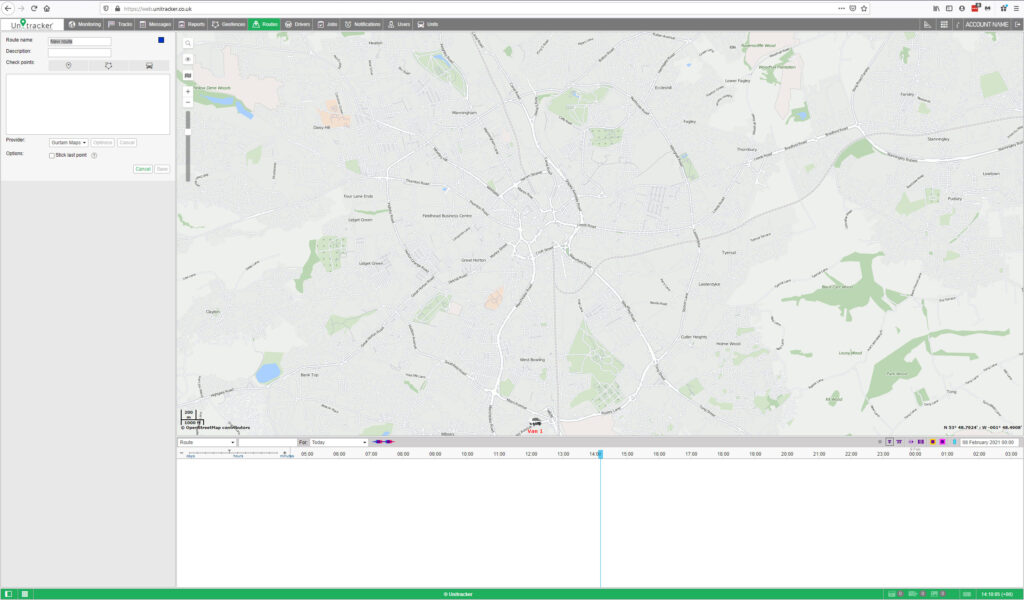
- Create the route itself, that is, mark check points on the map
- Create one or more schedules for this route.
- Assign units to the schedules manually or enable automatic creation of rounds.
- Following it on a special online timeline.
- Getting notifications about the events related to the route.
- Executing reports on the results of passing through the route.
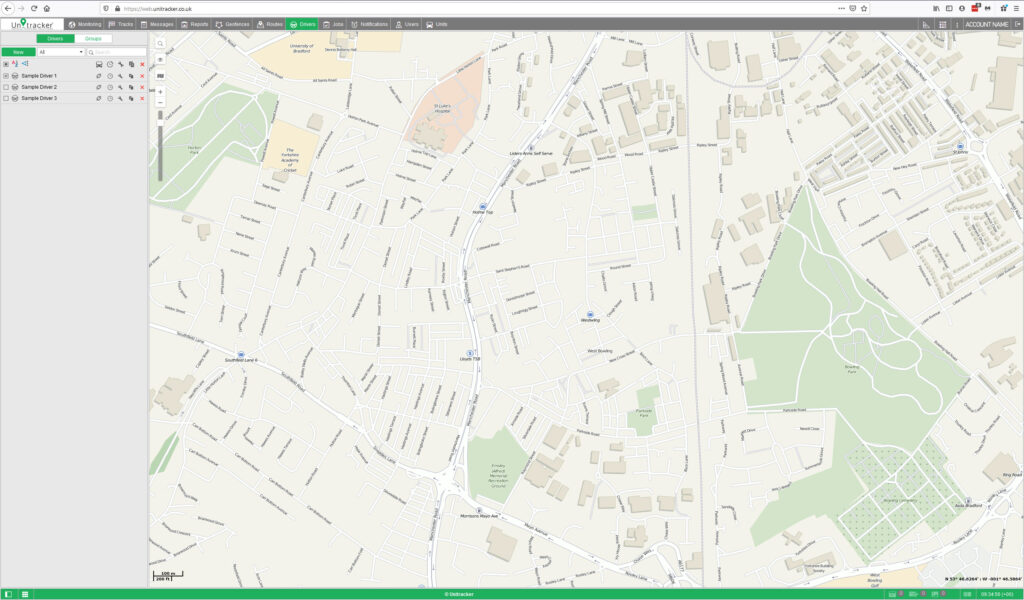
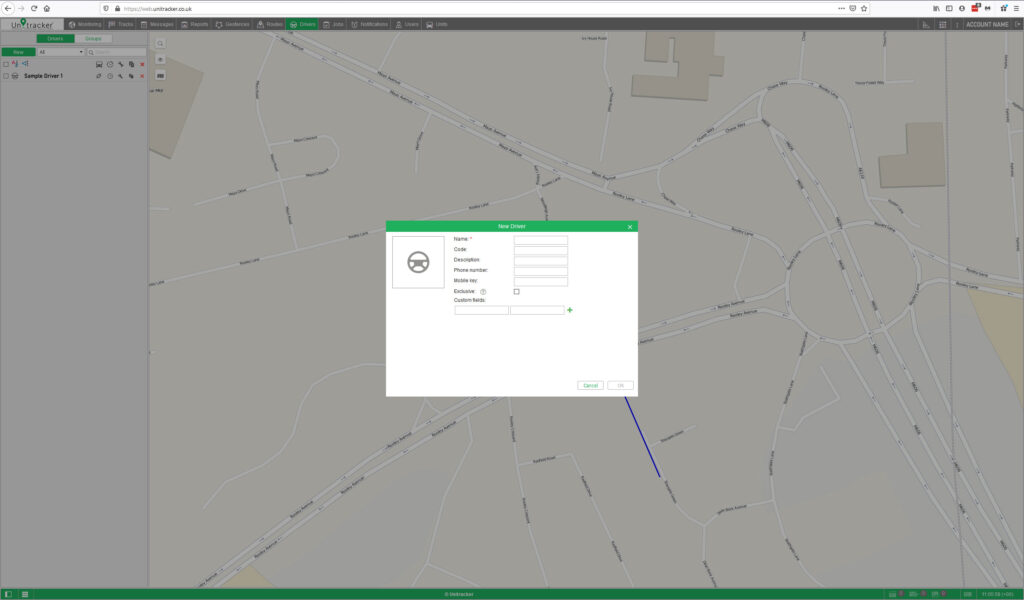
In the header bar choose the ‘Drivers’ tab and click the ‘New’ button.
At the end click OK. The new driver appears in the list.
Name – Give thew driver a name that will be visible during the tracking process and in reports.
Code – Enter unique driver code needed to identify the driver if an automatic method of binding will be used. Codes of different drivers should be different.
Description – Type any comments (optional). It is shown in driver’s tooltip.
Phone Number – Enter driver’s phone number. It will be shown in driver’s tooltip and can be used to send SMS messages to the driver and make calls. Note that units or drivers with the same phone numbers cannot exist in the system. If you attempt to create a driver with a phone number that is already reserved to another driver or unit, a special alert will be displayed, and this phone number will not be saved.
Mobile Key – Password for mobile authorisation.
Exclusive – If this flag is enabled, this driver can be the only one assigned to a unit. In case you bind this driver to a unit (in real time) which already has one or more assigned drivers, those drivers are reset automatically. This flag works only for drivers within a common resource.
Custom fields – Create driver’s card adding any information as custom fields (information may include external links). They are shown in driver’s tooltip and can be summoned in reports. Note that custom fields with the same name cannot coexist within one particular driver.
Manual Binding
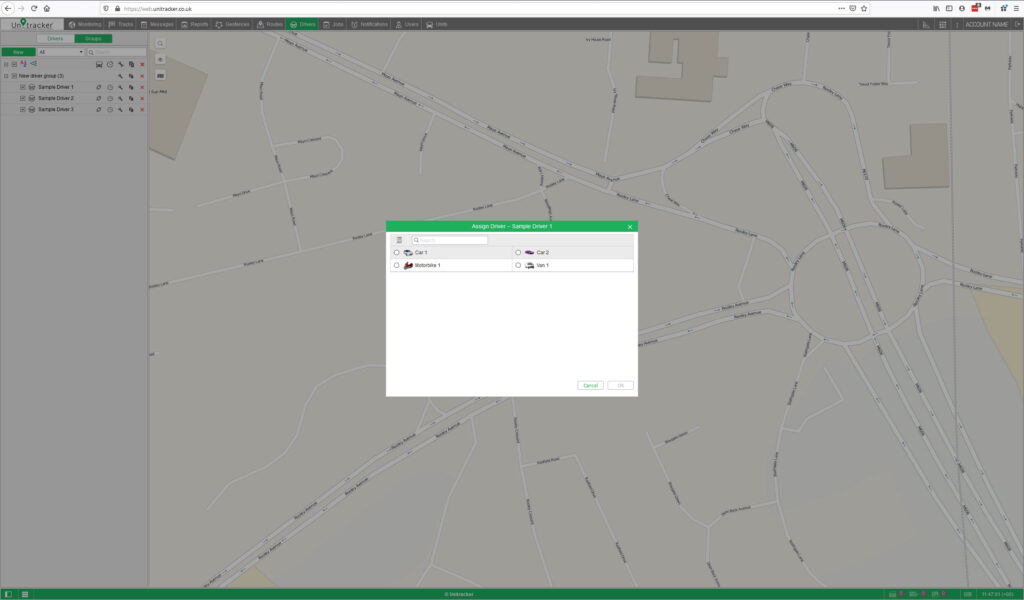
The manual assignment can be performed in sections ‘Drivers’ and ‘Groups’ within the ‘Drivers’ tab in the header bar. Use the Bind / Unbind icons to attach or detach drivers to/from units.
Click on the Bind to unit button , choose a unit for the driver to be bound to, and click OK.
Availability of units in this list depends on the work list in the Monitoring panel. If there are no units in the list, click on the Add all available button . To unbind a driver from a unit, click on the icon of the unit next to the driver’s name and click on the button .
Automatic Binding
To detect a driver automatically the corresponding equipment should be installed. For instance, contact memory devices, digital electronic keys (e.g. RFID chips) are widely used in personnel access control systems.
When getting into the vehicle, the driver applies the electronic key to the reader connected to the tracker. If the parameter received from the tracker contains the key code, the driver gets bound.
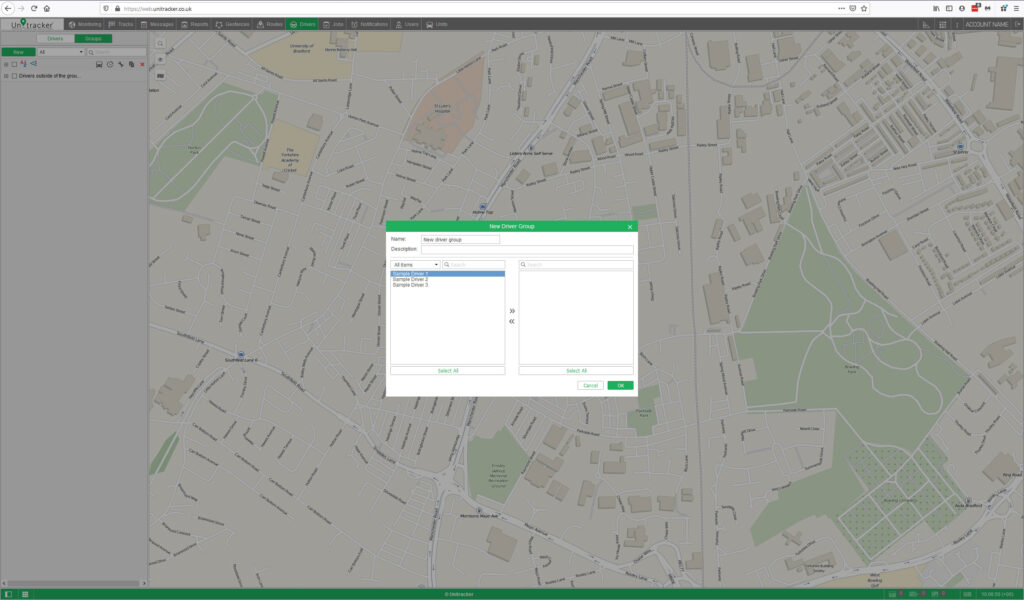
To start working with groups, choose the ‘Groups’ tab in the left hand panel.
To create a new group of drivers, click the ‘New’ button and enter the name and description. The drivers that form the group are chosen in the list at the left. The contents of the list can change according to the option chosen in the filter above. It can display all the drivers, a group of drivers (the names of the groups are shown in brackets) or the drivers outside groups. Move necessary drivers to the right list using double clicks or the ‘Add’ button, then press ‘OK’.
A list of created driver groups is displayed in the work area, which is arranged alphabetically.
Drivers not assigned to a group can be found in the Drivers outside groups.
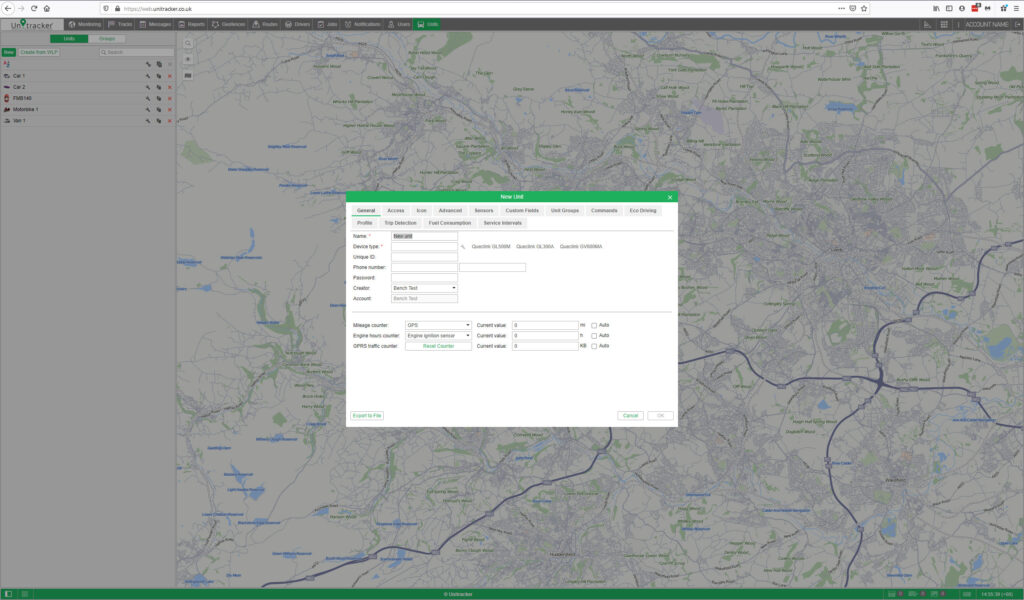
To work with units, open the Units panel by clicking the Units tab in the main header bar or select the item in the main menu customiser. Two modes are available in the Units panel: Units and Groups. Note that by clicking the New button in the Units mode you create a new unit while in the Groups mode you create a new group of units.
Units are listed in alphabetical order. Each unit has an icon. To quickly find the required unit, use the dynamic filter. Such information as the unit type, unique ID, and phone number(s) can be found in the unit’s tooltip. To view the unit’s tooltip, the Edit connectivity settings access right to the unit is required.
To create a group, click New, fill in the fields of general properties, select units, and click OK. The group will appear automatically in the worklist of the Monitoring panel.
The list of created unit groups is displayed in the work area. Groups are listed in alphabetical order. To the right of each group name, you can see how many units are included in it. The names of units included in the group are listed in the group’s tooltip. To quickly find the required unit group, use the dynamic search above the list.
- A group can be used to give the user access to several units at once.
- With groups, access to a unit can be expanded but not narrowed.
- The creator of the group must have access rights to units in this group.
Working with unit groups is easy. Deleting a unit group does not delete the units themselves. That is why you can create, edit, and remove unit groups, that is, configure the groups according to your needs. You can also configure automatic editing of groups with the help of the notification of the Modify unit groups type. When the set conditions are met, the unit can automatically be added to or removed from the group.
Key Features


